Posts tagged ‘lemon’

April 28, 2015

Lemon Bars

by tina

lemon_bars01

Ever since last Christmas, I’ve become obsessed with lemon bars. My roommate had made them for a family gathering and I had the opportunity to try some. I’ve never really liked lemon bars until I had these. They were tart, not too sweet, and absolutely delicious. She had followed this recipe (minus the walnuts). I followed the same recipe to make my own batch with high expectations, but to my disappointment they didn’t turn out the same–The crust was thicker, the filling was thicker and more gooey, and the lemon flavor wasn’t as tart. Apparently, my roommate had tweaked the recipe but had forgotten what was tweaked exactly. So for the next several weeks we experimented by adjusting the servings of the recipe and then increasing the amount of lemon juice, adding lemon zest, and added more flour for the filling. Between the two of us, we probably made about 7 batches until we figured it out. Thanks to the help of my roommate, here is the final tweaked recipe!

Ingredients:

Crust portion

  • 3/4 cup unsalted butter
  • 3/8 cup powdered sugar (3/8 = 1/4 cup + 2 tablespoons)
  • 1 1/2 cups flour

Filling portion

  • 3 large eggs
  • 1 1/4 cups sugar
  • 1/2 cup lemon juice (about 5-6 small lemons)
  • 1 tablespoon lemon zest (about 3-4 small lemons)
  • 1/4 cup flour (sifted)

lemon_bars02

Directions:

Part 1: Crust portion

Preheat the oven to 325F

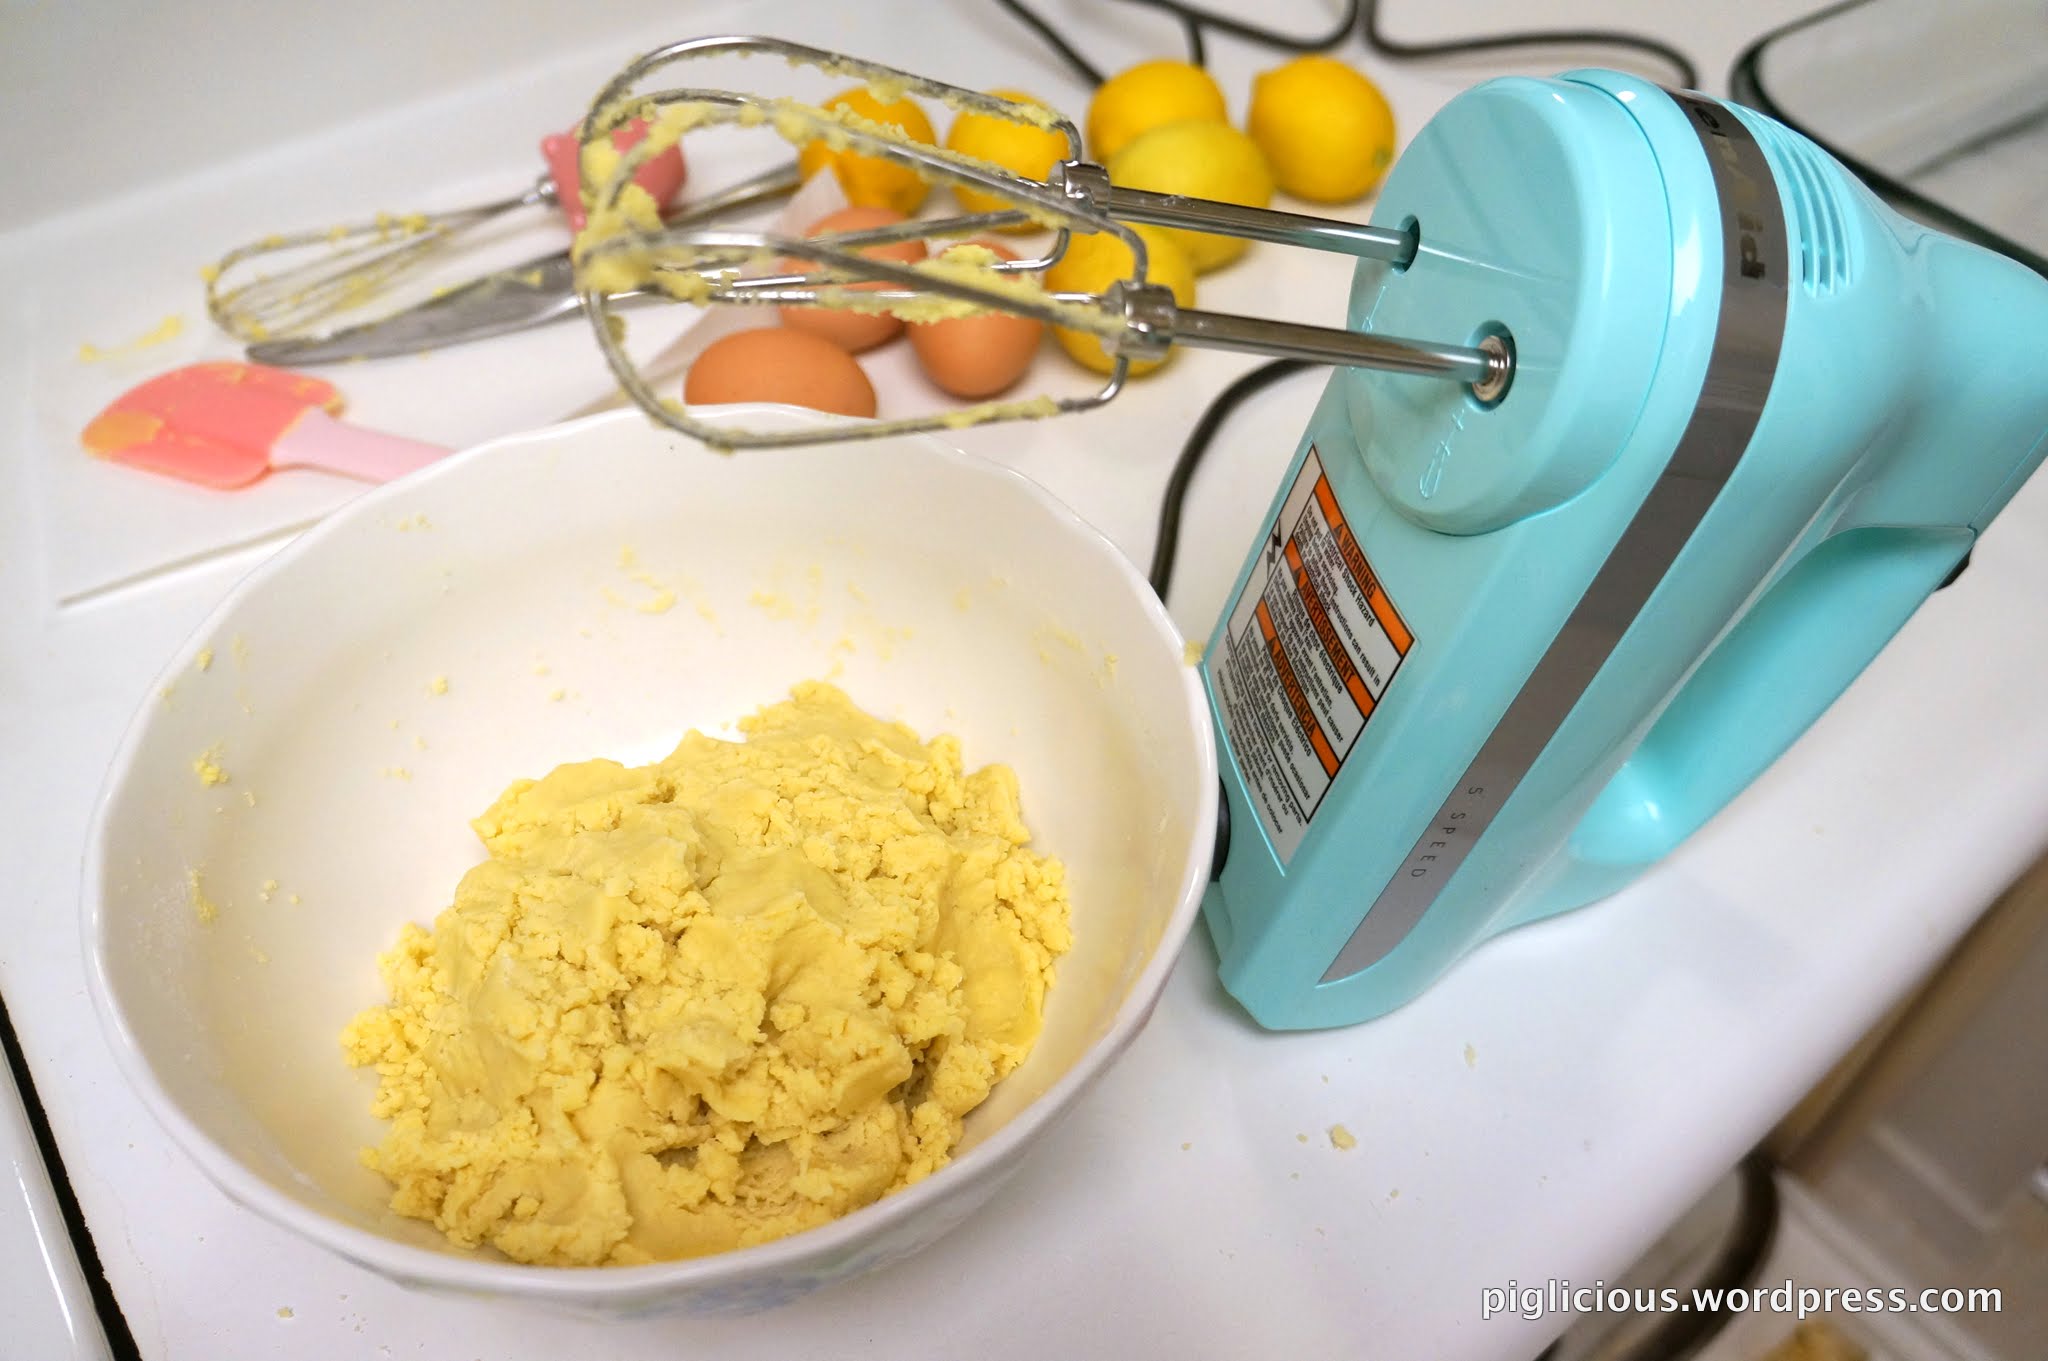
Melt the butter a little in the microwave for 15 secs. Then add in the powdered sugar and flour.

lemon_bars03

Mix with a hand mixer on low speed until you see clumps form. Mix for about 2 mins longer, or until thoroughly incorporated. Then take the clumps and pack them together with your hands.

lemon_bars04

Place the crust dough in a 9×13 pan. Spread the dough out evenly with your hands, packing it down in the process.

Bake for 18 mins, or until edges are very light brown.

lemon_bars05

Part II: Filling portion

While the crust is baking, prepare the filling. Squeeze the lemons to make the 1/2 cup of lemon juice. Zest the lemons to loosely measure 1 tablespoon.

lemon_bars06

Place the egg and sugar in a large bowl and mix with a whisk.

lemon_bars07

Strain the lemon juice to get rid of any seeds and pulp. (I like it more tart, so I add the pulp back in). Add in the lemon zest and mix.

lemon_bars08

At this time, your crust should be just about done. Take it out of the oven and let it cool for about 5-7 mins.

lemon_bars09

While the crust is cooling, sift and add the flour in small amount while stirring into the filling mixture. Make sure there are no clumps of flour floating in the mixture.

After the crust has cooled for a little bit, add the filling onto the crust. Pop any air bubbles on the surface. Bake for 23 mins.

lemon_bars10

The edges should be brown when you pull it out of the oven.

Let it cool for about 1 hour before cutting into it.

lemon_bars11

A closeup of the filling and crust.

lemon_bars12

Cut them into squares, and Enjoy these delicious bars!!

lemon_bars13

Tags: ,
January 11, 2012

Mini Cheesecakes

by tina

This was my first attempt ever for cheesecakes. And in preparation for more cheesecake making to come, I had just ordered a mini cheesecake pan on Amazon :D so excited.

Recipe adapted from (allrecipes.com). 
This recipe was pretty easy to follow, but I wished it had been a little more specific in some areas.

Ingredients:

Base crust portion

  • 1/3 cup graham cracker crumbs
  • 1 tablespoon brown sugar (I used Trader Joe’s Organic Brown Sugar)
  • 1 tablespoon butter, melted

Cheesecake portion

  • 1 (8 ounce) package cream cheese
  • 1/4 cup white sugar (I used a little less than 1/4 cup)
  • 1 1/2 teaspoons lemon juice
  • 1/2 teaspoon grated lemon zest
  • 1/4 teaspoon vanilla extract
  • 1 egg

Directions:

Part 1: Base crust

I crumbled the graham crackers with the side of the rolling pin (used it like a pestle and mortar. pestle=>rolling pin, mortar=>cutting board)

Preheat oven to 325F.

In a mixing bowl, first mix the graham crumbs and sugar well* with a fork. Then add the melted butter in and mix very thoroughly.

*I mixed everything together because the recipe didn’t specify, but I noticed that the sugar didn’t seem to be mixed evenly in the end, so mixing the crumbs and sugar first would minimize this problem.

Measure a tablespoon of the mixture into the bottom of each baking/muffin cup. Evenly distribute the rest into the cups. Press the graham crumbs down as firmly as you can.

Bake in the preheated oven for 5 mins, then remove from oven and let it cool. Keep the oven on.

Part 2: Cheesecake

Beat together the cream cheese, sugar, lemon juice, lemon zest and vanilla on low speed (speed 1/2 with stand mixer) until fluffy (left picture). Be careful not to over-mix*. 

Add the egg  in and mix on low speed (speed 1). It’ll look weird and gooey at first. But after a few minutes of mixing, it will look like the picture (on the right).

*Over-mixing may cause the cheesecake to rise like a souffle when baked. That’s what happened to mine. I did beat the ingredients together like crazy because that’s how I thought it was supposed to be done. But afterwards I read on a few sites and it says that over-mixing incorporates additional air and tends to cause cracking on the surface of the cheesecake.

Use a spoon to place the cream cheese mixture into the muffin cups. Smooth out the tops of mixture in the cups as much as you can*.

Bake for 25 minutes. Cool completely in pan before removing (about 1 hour). Then refrigerate until ready to serve.

*I didn’t know that cheesecake mixture doesn’t settle that well and smooth itself out when baked, or else I would’ve smoothed it and would not have had a rumpley (and slightly overbaked) result. haha.

Result after cooling and refrigerating for 1 hour. I added chopped walnut and blueberries at the top. ^_^

Despite the over-mixing and slightly over-baking, it still tasted pretty good in my book.

December 29, 2011

Lavender Butter Cookies

by tina

I was addicted to earl grey tea cookies. I probably baked it every week since the first batch and had an endless supply (5 batches in total?), so I thought it was time to change it up and try something new. :)

I’ve always wanted to make lavender cookies, so I experimented by changing a few things from the earl grey tea cookies recipe. They turned out surprisingly well!

Ingredients:

  • 1 cup unbleached all purpose flour
  • 1/8 – 1/4 cup brown sugar*
  • 1/8 – 1/4 cup confectioner’s sugar*
  • 1/4 teaspoon salt
  • 1/2 cup good quality unsalted butter
  • 1 tablespoon lavender, finely chopped
  • 1 teaspoon lemon zest, finely chopped
  • 1/2 teaspoon pure vanilla extract
  • 1/2 teaspoon water

(yields 2 dozen cookies)

*The brown sugar to confectioner’s sugar ratio is 1:1. I use a little more than 1/8 and a little less than 1/4 cup for the brown and confectioner’s sugar.

For the lavender, finely chop them with a knife.

I wanted to infuse the fragrant smell and flavor of the flower more in the cookie, so I came up with the idea of straining the flower first: Place all the chopped lavender in a tea strainer, boil some water and strain it once. Empty the water in the tea pot and let it sit/dry a little while you prepare the other stuff.

For the lemon zest, I peeled the lemon and used a knife to chop the skin into very fine pieces.

In a medium mixing bowl, mix the dry ingredients (flour, sugars, salt) together with a spatula. Make sure to smooth out any sugar clumps and mix evenly.

Mix all the wet ingredients (butter, lavender, lemon zest, vanilla extract, water) in the stand mixer’s mixing bowl. (level 2/3) Mix this well.

Add the dry ingredients to the wet and mix at low speed (level 1/2) for a few minutes. Then turn it up to low medium (level 2/3) for a couple minutes. Stop occasionally to make sure everything stuck at the bottom and on the spatula is mixed in. Once it looks like the picture below, you can stop.

Use your hand and press all the little clumps together to form a mound. It’s a little difficult at first, but once your hand starts to semi melt the butter, it becomes more cohesive.

Take it out of the mixing bowl and mold it into a packed circular log. Feel free to slap/pound it a little to pack it together very well and then roll it for the circular shape.

Once molded into shape, use saran wrap to completely cover the log and smooth out the surfaces. Place this in the freezer for 40 mins.
Freezing the log solidifies it and makes it easier to hold its cookie shape when it is sliced later.

Preheat the oven to 350F.
Slice cross section pieces that are about 1/4 to 1/3 inch thick.

Place the slices on a silpat on a cookie sheet.

Bake for 10-12 mins or until the bottom edges are light brown. Let it cool for 10 mins on the silpat.

Place them on a cooling rack. Cool for 30 mins to 1 hr.

December 27, 2011

Asari Sakamushi (Sake Steamed Clams)

by tina

I’ve had this before at a Japanese tapas restaurant and it tasted simply delicious. I randomly decided to try to make this when I saw that the live clams were on sale at my nearby grocery store. Can’t go wrong with live clams–They turned out yummy.

Ingredients:

  • 15 – 18 clams (about 0.8 lb. I used live Manila clams)
  • ~15 slices of ginger (cut in strips)
  • ~15 pieces of lemon zest (cut in strips)
  • 2 – 3 pieces wakame Or 1 large piece of kombu
  • 2 1/2 cups water
  • 1/4 cup sake
  • 1/8 – 1/4 teaspoon salt
  • 1 green onion (cut in thin vertical/longitudinal strips aka julienned)

Soak the clams in water with a little salt for ~4 hrs or overnight. We want the clams to spit out the “dirty” water and/or sand in their system.

After they have been soaked, scrub the clam shells down (I used a toothbrush).

Picture of the ingredients (and the kind of sake) I used:

Place the water in a (smaller) pot and turn the temperature to high and bring it to a boil. (You could start with a little less water in case it’s too diluted for your taste). With the water boiling, place the ginger, lemon zest, and kombu/wakame in. Let them boil for 30 secs. Then add in the clam. Add the sake. Add the salt (start with 1/8 teaspoon). Let it come to a boil, for about 3-5 mins or until the clam shells open. If the soup is not salty enough for you, then add a little more salt at this point. Boil for another minute.

Turn the temperature down.

Transfer into a large bowl and garnish with green onions on top.

August 18, 2011

Baked Lemon Pepper Chicken Wings

by tina

Ingredients:

  • 6-10 whole chicken wings (wings and drummettes intact)
  • salt
  • black pepper
  • 2 lemons, squeezed

I recommend marinating these the night before you want to bake them because it takes a while for the salt and lemonade to seep into the chicken.

Cut and separate all the wings and the drummettes. Dash some salt (front and back) on all the pieces and rub the salt in. Place the pieces in a tupperware.  Add a good layer of black pepper on the surface. Add another dash of salt on the surface and then pour the lemonade in evenly. Cover and put this in the fridge to marinate overnight.

The next day… the chicken wings are ready to be baked! Preheat oven to 350F.

On a baking pan, put foil over it and place the wings in and some of the marinade in. (pic below)

Put the pan on the middle rack in the oven.  Bake for 25 mins on 350F.  Then turn the temperature to 400F for another 5-8 mins (for more crispy skin).

And it’s done.  A very easy process! 

Tags: ,